TrueCrypt 6.0a How To: Free Full Disk Encryption in Windows XP
Our HOWTO: Windows full disk encryption with TrueCrypt 5.0 article is the most popular article we've published on Devil's Advocate Security with over 900 page views, and we're past due to write an updated article about TrueCrypt 6.0a.
A number of changes were made between 5.0 and 6.0a. These include:
- Support for encrypted hidden operating systems with plausible deniability
- Hidden volume creation for MacOS and Linux
- Multi-core/multi-processor parallelized encryption support
- Support for full drive encryption in XP and Vista even with extended and/or logical partitions
- A new volume format which increases performance, reliability, and expandability
- A number of bug-fixes and other features.
Without further ado, here is our TrueCrypt 6.0a Windows installation walk-through.
TrueCrypt full disk encryption walkthrough
1. Download TrueCrypt and install it. Accept the license, and select "Install" as your option rather than "Extract". TrueCrypt will ask you for a number of setting options - if you are unfamiliar with them, the defaults should be reasonable for most users. Once you click next, you'll see a message that TrueCrypt has sucessfully installed. Click OK, then click Finish and continue onwards.
2. Start TrueCrypt - if you did a default install, you will have a blue and white key icon on your desktop. TrueCrypt will ask you to read the tutorial if you haven't read it before. Once you've through, you'll see the TrueCrypt main window.
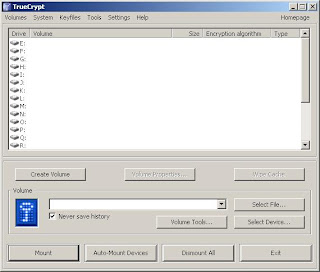
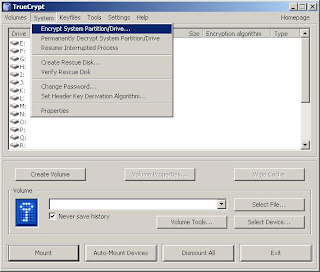
3. Select System, then Encrypt System Partition/Drive.
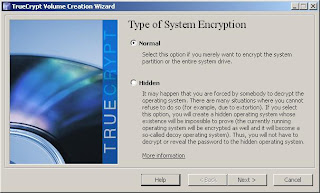
4. If you want to create a hidden operating system for plausible deniability, this is when you should select the "Hidden" option. For the purposes of this walk-through, we will simply do a "Normal" installation with the intent of protecting data, rather than hiding it.
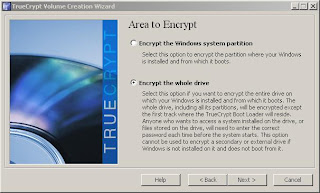
 5. Now you need to choose whether you will encrypt just the Windows system partition, or the entire drive. If you have performance concerns, you may opt to encrypt just the Windows system partition, however for the greatest security, you'll likely want to encrypt the entire drive. For this example, we will encrypt the entire drive, which is the default setting.
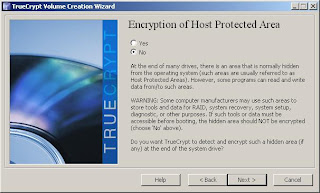
6. TrueCrypt will ask about Host Protected Areas, which may contain your system diagnostics, RAID tools, or other data. If you're unsure, you should likely select "no" for safety. Most programs do not store sensitive data in the HPA.
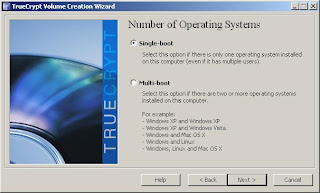
7. If you are running a multi-boot system with multiple operating systems, the next question is relevant for you. For most users, selecting Single Boot for their single OS is the route to take. We'll go with single boot for this walk-through.
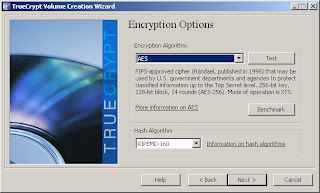
8. Now you need to select your encryption options - the defaults of AES and RIMEMD-160 should be find for most users. If you have specific compliance requirements, make sure you meet them here.
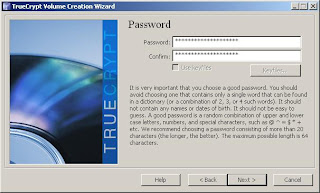
9. Type your password, or better, a strong passphrase. This will let you access your drive, so you must remember this passphrase!
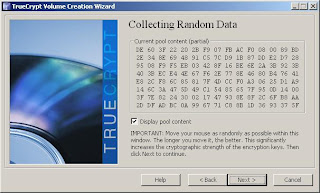
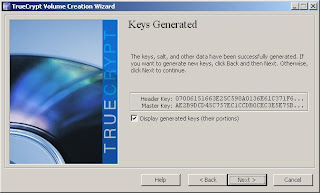
 10. Now TrueCrypt gathers mouse movement to generate a random seed for your encryption. Move your mouse around randomly, and then click next to let it generate your keys.
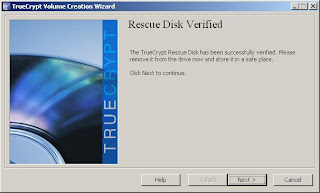
11. TrueCrypt forces you to create a TrueCrypt Rescue Disk, which allows you to restore your boot loader if it is damaged, lost, or you otherwise cannot access the TrueCrypt volume. By default, it will save an ISO file to your My Documents folder. You will need to burn the ISO to a CD, and then let TrueCrypt verify that it works.
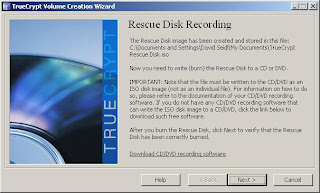 12. Burn your ISO with your favorite CD burning software, then verify it.
 13. Now select the wipe mode that you'd like to use. For most users, a 3 pass wipe will be sufficient, although for day to day use, no wipe is likely ok. If you do choose a wipe mode, you will be notified that each wipe will increase the encryption time. Once you click Next, a window of notes to print about the encryption process will pop up. Click OK, and "Yes" when asked if you're ready to reboot.
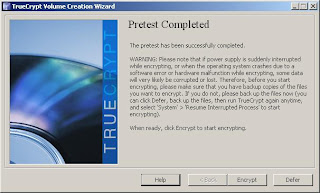
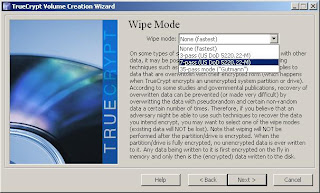 14. TrueCrypt will ask you to test the encryption by rebooting. This is a good time to make sure that you have your password recorded properly! After rebooting and providing your password, the pretest is complete. Select "Encrypt", print the notes if you would like to have them available, and your drive encryption will begin.
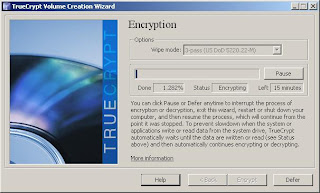 The encryption process is typically quite fast, but will vary with the size of your drive. The demonstration drive is running in a VM, and is an 8 GB partition. Real time to complete with no wipe was approximately 15 minutes.
15. When you reboot, simply enter your password, and your encrypted partition will unlock. Your normal OS boot will occur.
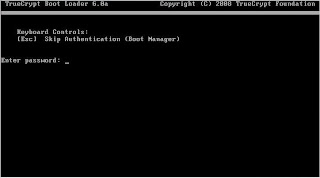
You now have a fully encrypted disk. Make sure you remember your password and keep your rescue CD in a safe place!
No comments:
Post a Comment